 |
You are here: Info » resources » articles » using-neatimage
We have faced issues with using neatimage where the details in the subject are also taken out and the image looks very soft. Here, I describe the simple method of digital blending to overcome those issues.
At this point I have already adjusted my image for white balance, levels, saturation and all other corrections as necessary. I now do “Unsharp Mask” and save the image as image-name-ps.tiff

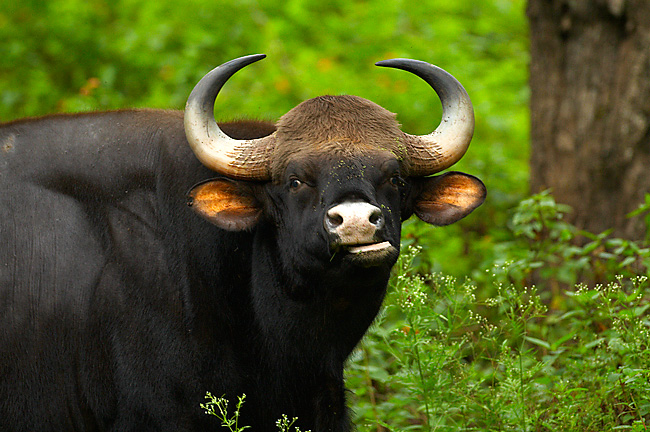
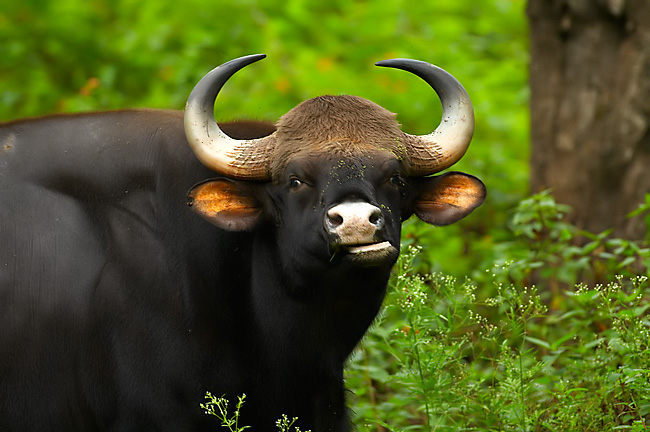
Open the above saved image in your noise removal tool. I use neatimage Pro+ edition which can process 16 bit tiff images. Follow your procedure to remove the noise from the image. Dont worry if the details in the subject are taken away. Save it as a different file (image-name-ni.tiff). Check the below image on how the details in the black are gone:

In case the details in the subject are taken away due to noise removal, then we need to digitally blend both the sharpened image (using PS) and the neatimage processed image to get the details back in the subject. That’s why we need to save each image in a different name.
Open the above saved image (image-name-ni.tiff) in PS and assign colour profile if its missing. Open the original image which was sharpened in PS (image-name-ps.tiff).
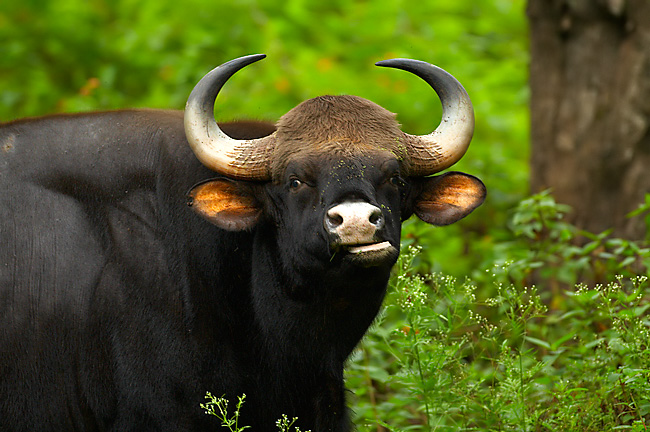
Now, copy and paste the NI processed image (image-name-ni.tiff) on top of sharpened image in PS. (Do Ctrl A, Crtl C on NI image and then a Ctrl V on the sharpened image) Now the sharpened image looks like the NI processed image. Obviously, the NI image has been placed on top of this. Now use the eraser tool in PS to eraseon the subject and get back the under laying image, which is the PS sharpened image. Hence you get back the details in the subject while removing the noise around the subject. Study the image to make sure it looks pleasing and make any adjustment required.
